How to Tell If a Mirror Is Good Quality: A Practical Buyer's Guide
Mirror Quality Assessment Tool
Answer the questions below based on the mirror you are considering or inspecting. The tool will calculate a quality score and provide specific feedback.
1. Glass Clarity & Type
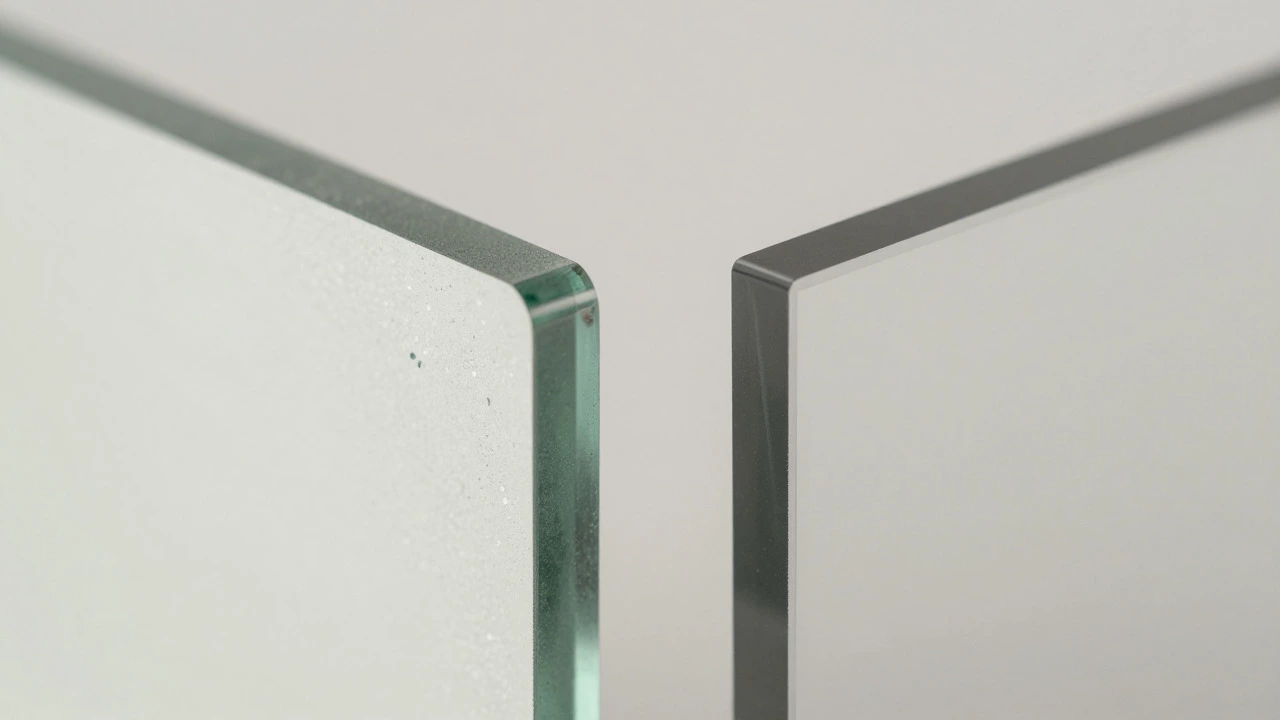
Look at the edge of the glass. Does it have a green tint, or is it clear/neutral?
2. Thickness vs. Size
Is the glass thick enough for its dimensions? (Small <24": 3-4mm; Medium: 5mm; Large >48": 6mm+)
3. Silvering Uniformity
Hold at an angle to light. Is the reflection even, or are there streaks/cloudiness?
4. Edge Work & Sealing
Inspect the perimeter. Are edges polished/beveled and sealed, or raw/chipped?
5. Distortion Check
Look at a straight line (doorframe) in the reflection. Does it stay straight?
6. Mounting Hardware
Check the back. Is it equipped with heavy-duty D-rings/cleats or weak adhesive strips?
This mirror meets basic standards but may lack longevity or premium clarity.
Recommendation:
- • Acceptable for temporary use.
- • Monitor for edge discoloration.
Why Your New Mirror Might Be Letting You Down
You hang that beautiful new mirror on the wall, step back, and something feels... off. Maybe your reflection looks slightly stretched. Perhaps there’s a faint green tint around the edges when you angle it toward the light. Or worse, after just six months, dark spots start creeping in from the corners like rot.
This isn’t just bad luck. It’s bad manufacturing. The difference between a cheap, disposable mirror and one that lasts decades comes down to materials, craftsmanship, and specific technical specs that most buyers overlook until it’s too late. Buying a mirror is not like buying a t-shirt; you can’t easily return a warped piece of glass once it’s installed, especially if it’s custom-sized or heavy enough to require professional mounting.
So, how do you spot a high-quality mirror before you commit? We’re going to break down exactly what to look for-from the type of glass used to the subtle signs of poor silvering-so you don’t end up with a distorted reflection or a crumbling frame.
The Foundation: Glass Type and Thickness
Most people assume all clear glass is the same. It’s not. The base material determines clarity, color neutrality, and structural integrity. High-quality mirrors use low-iron glass (often called ultra-clear or opti-white glass). Standard float glass contains iron impurities that give it a slight greenish hue, which becomes noticeable at the edges or in thick slabs. Low-iron glass removes this tint, resulting in a neutral, true-to-life reflection.
Thickness matters more than you might think. For small vanity mirrors under 24 inches, 3mm or 4mm glass is standard and acceptable. But for anything larger-especially full-length mirrors or wall-mounted panels-you need 5mm or 6mm glass. Thinner glass on large surfaces will flex slightly, causing optical distortion. Think of it like a trampoline: a thin sheet stretches and warps under its own weight over time. A 6mm mirror stays rigid, keeping your reflection sharp and undistorted.
- Small mirrors (under 24"): 3-4mm thickness is sufficient.
- Medium mirrors (24-48"): 5mm recommended for rigidity.
- Large mirrors (over 48"): 6mm+ essential to prevent bowing.
If you’re holding a mirror and it feels flimsy or bends slightly when you press gently on the center, put it down. That’s a sign of inadequate thickness for its size.
Silvering: The Heart of the Reflection
The reflective coating-called silvering-is where most budget mirrors cut corners. Traditional first-surface mirrors (where the reflective layer is on top) are rare outside industrial applications. Most home mirrors are second-surface, meaning the silvering is sandwiched between the glass and a protective backing paint.
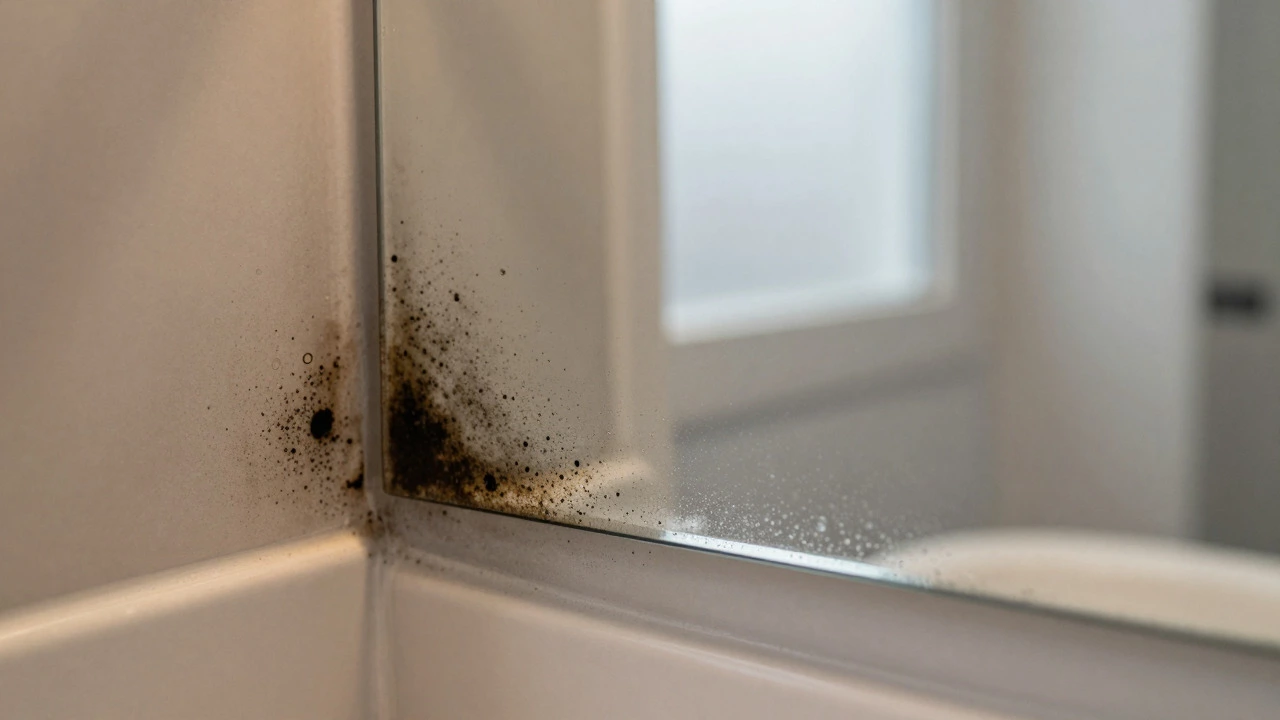
High-quality mirrors use a multi-layer deposition process involving copper, tin, and silver. Cheap mirrors often skip the copper layer or use thinner coatings. Why does this matter? Copper acts as a barrier against moisture penetration. Without it, humidity seeps through microscopic pores in the paint, oxidizing the silver and creating those dreaded black spots known as “mirror rot.”
To check the quality of silvering without damaging the mirror, look for uniformity. Hold the mirror at an angle to a bright light source. A high-quality mirror will reflect light evenly across the entire surface. If you see streaks, cloudiness, or inconsistent brightness, the coating was applied poorly. Also, inspect the edges closely. On a well-made mirror, the silvering extends right to the edge, protected by a sealed border. If you can see raw glass or uneven coating near the perimeter, expect early failure.
What causes black spots in mirrors?
Black spots, also known as mirror rot, occur when moisture penetrates the protective backing and oxidizes the silver layer. This is common in humid environments like bathrooms if the mirror lacks proper sealing or uses low-quality materials without a copper barrier layer.
Edge Work: Bevels, Polish, and Safety
The edge treatment tells you a lot about the care taken in manufacturing. Raw cut glass has sharp, dangerous edges. Budget mirrors often get a quick grind and call it a day, leaving a rough, white-ish edge that chips easily. High-quality mirrors feature precision polishing or beveling.
A polished edge is smooth to the touch and transparent, blending seamlessly with the glass. A beveled edge is angled and ground to create a decorative, diamond-like finish. Both require skilled labor and specialized machinery. If the edge looks fuzzy, cloudy, or uneven, it’s a sign of rushed production. More importantly, check for micro-chips along the border. Even tiny imperfections can propagate cracks over time, especially if the mirror is subjected to temperature changes or minor impacts.
For safety, especially in homes with children or high-traffic areas, consider safety-backed mirrors. These have a plastic film applied to the back that holds shards together if the glass breaks. While not always necessary for small decorative pieces, it’s a wise investment for large wall installations.
Distortion Testing: The Straight Line Check
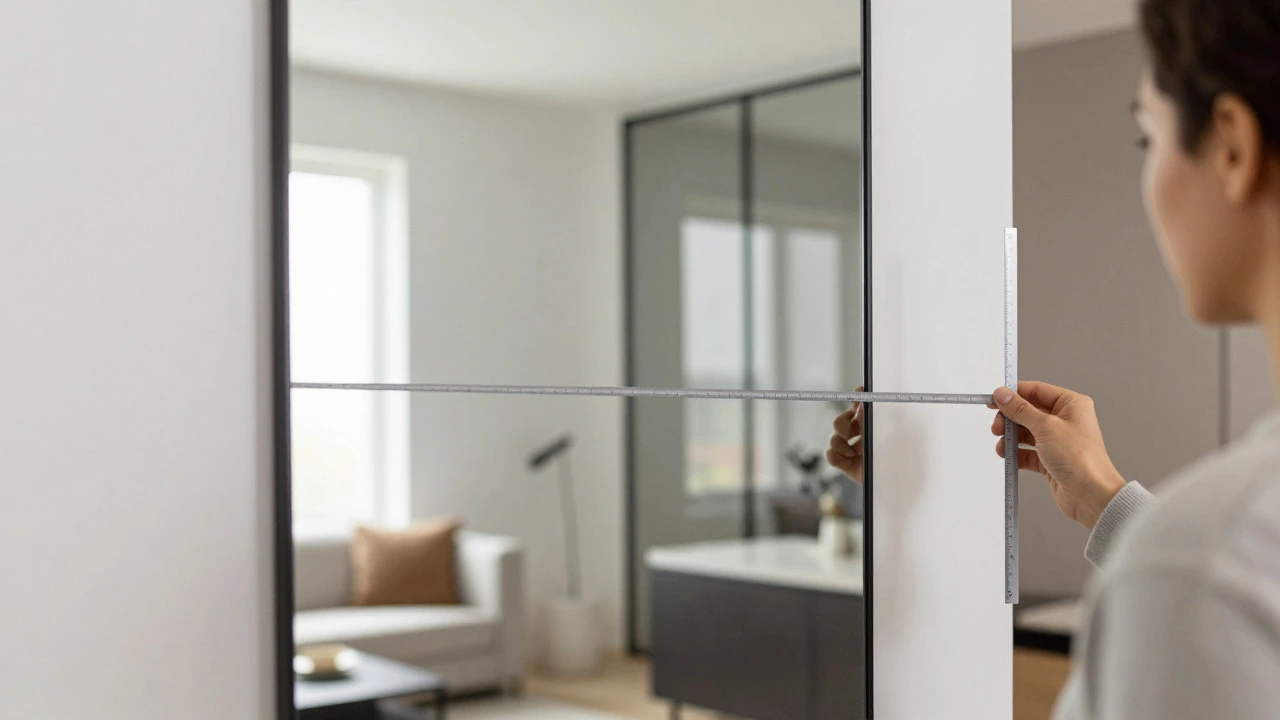
Even with perfect glass and silvering, poor flattening during manufacturing can cause distortion. This is where your reflection looks wavy, stretched, or compressed. To test for this, find a straight line in your environment-a doorframe, a tile grout line, or the edge of a bookshelf. Stand directly in front of the mirror and align the object with its reflection.
If the line appears bent, broken, or curved in the reflection, the glass is not flat. This is particularly common in large, inexpensive mirrors made from rolled glass rather than float glass. Float glass is cooled slowly on a bed of molten tin, ensuring extreme flatness. Rolled glass, cheaper but less precise, retains subtle waves from the manufacturing process. For critical applications like makeup application or shaving, even minor distortion can be frustrating.
Another trick: hold a coin or small object close to the mirror surface. Look at the gap between the object and its reflection. In a perfectly flat mirror, the gap should be consistent across the entire surface. If the gap widens or narrows in different areas, the glass is warped.
Frame Construction and Mounting Hardware
If your mirror comes with a frame, don’t ignore it. A flimsy frame won’t support the weight of quality glass, leading to sagging or detachment. Wooden frames should be solid hardwood or high-density MDF, not particleboard. Check the joints-they should be tight, with no visible gaps or loose screws. Metal frames should feel substantial, not hollow or thin.
Mounting hardware is equally important. Cheap mirrors often come with weak adhesive strips or single-point hooks that fail over time. High-quality mirrors include D-rings, French cleats, or heavy-duty sawtooth hangers rated for the mirror’s weight. Always verify the weight rating matches the actual weight of the mirror. Hanging a 15kg mirror on hardware rated for 5kg is a recipe for disaster.
| Feature | Low Quality Sign | High Quality Sign |
|---|---|---|
| Glass Type | Greenish tint, standard float glass | Neutral tone, low-iron ultra-clear glass |
| Thickness | Thin, flexible for size | Rigid, appropriate thickness for dimensions |
| Silvering | Streaks, uneven reflection, exposed edges | Uniform brightness, sealed edges, no discoloration |
| Edges | Rough, chipped, cloudy polish | Smooth, polished, or precisely beveled |
| Distortion | Wavy lines, inconsistent gaps | Straight lines remain straight, consistent gaps |
Environmental Considerations: Bathrooms and Humidity
If you’re buying a mirror for a bathroom, kitchen, or laundry room, humidity resistance is non-negotiable. Standard mirrors degrade quickly in moist environments. Look for mirrors labeled as “bathroom grade” or “humidity resistant.” These typically have enhanced sealing around the edges and a thicker protective paint layer.
Anti-fog technology is another consideration. Heated mirrors use embedded wires to keep the surface above dew point, preventing condensation. While pricier, they offer superior functionality and longevity in steam-heavy rooms. Alternatively, some mirrors come with hydrophobic coatings that repel water droplets, though these wear off over time and require reapplication.
Installation location matters too. Avoid placing mirrors directly above showers or sinks where direct water spray occurs. Even high-quality mirrors can suffer if constantly bombarded with water. Ensure adequate ventilation in the room to reduce ambient humidity levels.
Price vs. Value: Knowing When to Pay More
It’s tempting to grab the cheapest option, especially for large mirrors. But remember: glass is heavy, fragile, and expensive to ship and install. A $50 mirror might cost $200 to replace if it breaks or fails within a year. Investing in a higher-quality mirror upfront saves money and hassle in the long run.
Generally, expect to pay more for:
- Low-iron glass
- Thicker glass (5mm+)
- Precision beveling or polishing
- Humidity-resistant coatings
- Solid wood or metal frames
How long should a good quality mirror last?
A high-quality mirror with proper silvering and sealing should last 10-20 years or more in normal indoor conditions. In humid environments like bathrooms, lifespan may be reduced to 5-10 years unless specifically designed for such conditions.
Can I fix a mirror with black spots?
No. Once mirror rot sets in, the damage is irreversible. The only solution is to replace the mirror. Preventative measures like proper sealing and humidity control are key to avoiding this issue.
Is thicker glass always better?
Not necessarily. Thickness should match the mirror’s size and intended use. Small mirrors don’t need excessive thickness, which adds unnecessary weight and cost. However, for large mirrors, thicker glass prevents distortion and ensures durability.
What is the difference between first-surface and second-surface mirrors?
First-surface mirrors have the reflective coating on the front, eliminating ghost images but requiring careful handling to avoid scratching. Second-surface mirrors, common in homes, have the coating behind the glass, protecting it but potentially causing slight double reflections due to light passing through the glass twice.
How do I clean a mirror without damaging it?
Use a soft, lint-free cloth and a mild glass cleaner or vinegar-water solution. Avoid abrasive pads or ammonia-based cleaners, which can degrade the protective backing over time. Always spray the cloth, not the mirror, to prevent liquid from seeping into the edges.